Why I Love WSL for CFD: A CFD Researcher's Workflow Revealed
As a CFD researcher, harnessing computational resources efficiently is paramount. In this blog post, I’ll delve into why I opt for Windows Subsystem for Linux (WSL) as a primary environment for setting up my CFD simulations and how it streamlines my workflow, offering seamless integration of Linux tools within the Windows ecosystem.

Let me start by sharing a little about my computing journey. As a Mac user navigating the Windows landscape at work, I found myself pleasantly surprised by the efficiency of Windows Subsystem for Linux (WSL). In the not-too-distant past, running OpenFOAM on anything other than Linux was a formidable challenge. Options like virtual machines or dual-boot setups were functional but cumbersome, often resulting in constrained resources like RAM and CPU cores. For a researcher like myself, merely setting up cases or conducting small simulations isn’t enough. In computational fluid dynamics (CFD), we rely on an array of tools – from CAD modeling in Solidworks to meshing with ANSYS ICEM, post-processing using Tecplot or Paraview, typesetting with LaTeX, and employing Python for plotting and analysis. Each of these tools demands significant resources, and switching between operating systems or transferring files between them quickly becomes tedious.
Enter Windows – a platform that seamlessly integrates all these tools, including OpenFOAM. Based on my experience, Windows has become my preferred choice for CFD work, especially for newcomers to the field. And with the introduction of Windows Subsystem for Linux (WSL), many of the traditional hurdles associated with OpenFOAM installation on Windows have been overcome. WSL enables users to install a Linux distribution like Ubuntu within Windows, offering a familiar terminal environment with essential bash commands and the ability to install programs via apt-get. While it’s not a full Linux desktop experience, WSL strikes a balance, allowing developers and bash veterans to leverage Linux tools while remaining on the Windows platform.
In this article, I’ll walk you through my setup and workflow, showcasing how I utilize WSL alongside Windows for efficient CFD work. Let’s dive in and explore the best of both worlds!
Installing WSL
Before delving into the installation process of Windows Subsystem for Linux (WSL), it’s crucial to ensure your system meets the necessary prerequisites: a functional Windows 10 or Windows 11 installation, and either PowerShell or Command Prompt. Personally, I lean towards PowerShell for its robustness and versatility. To kickstart the process, open PowerShell in administrator mode by right-clicking and selecting “Run as administrator”.
Once PowerShell is up and running, let’s take a quick look at the available Linux distributions within WSL. Enter the following command:
wsl --list --online
Executing this command should display a list of Linux distributions ready for installation via WSL. As of the publication of this article, the list includes:
The following is a list of valid distributions that can be installed.
Install using 'wsl.exe --install <Distro>'.

NAME                                   FRIENDLY NAME
Ubuntu                                 Ubuntu
Debian                                 Debian GNU/Linux
kali-linux                             Kali Linux Rolling
Ubuntu-18.04                           Ubuntu 18.04 LTS
Ubuntu-20.04                           Ubuntu 20.04 LTS
Ubuntu-22.04                           Ubuntu 22.04 LTS
OracleLinux_7_9                        Oracle Linux 7.9
OracleLinux_8_7                        Oracle Linux 8.7
OracleLinux_9_1                        Oracle Linux 9.1
openSUSE-Leap-15.5                     openSUSE Leap 15.5
SUSE-Linux-Enterprise-Server-15-SP4    SUSE Linux Enterprise Server 15 SP4
SUSE-Linux-Enterprise-15-SP5           SUSE Linux Enterprise 15 SP5
openSUSE-Tumbleweed                    openSUSE Tumbleweed
Now, armed with this information, you can proceed to install your preferred distribution using the command:
wsl --install -d <Distribution Name>
Simply replace <Distribution Name> with your desired distribution from the provided list. For instance, if you prefer to have both Ubuntu-20.04 and Ubuntu-22.04 installed, execute:
wsl --install -d Ubuntu-22.04
Following the installation, you’ll find yourself equipped with a fully operational Ubuntu terminal seamlessly integrated into your Windows environment. Upon launching the terminal for the first time, you’ll be prompted to set up a username and password. These credentials need not match your Windows login details.
As a best practice, ensure your newly installed Ubuntu distribution is up-to-date by running the following commands:
sudo apt update
sudo apt full-upgrade -y
In my scenario, I find it advantageous to have at least two versions of Ubuntu installed via WSL: Ubuntu-20.04 and Ubuntu-22.04. The rationale behind this choice is quite straightforward. On a daily basis, I heavily rely on ESI-group’s OpenFOAM, particularly OpenFOAM-v2312, which seamlessly integrates with the newer Ubuntu-22.04. However, there are occasions when I need to utilize foam-extend 4.1, a tool that functions optimally with the older Ubuntu-20.04. Additionally, I often employ other specialized tools such as Nek5000 and nekRS, both spectral-element based CFD codes, which are better suited for the stability offered by the older Ubuntu version. Furthermore, my Python-based post-processing setup is tailored for Ubuntu-22.04, providing me with a smooth workflow, especially when paired with VS Code for enhanced efficiency.
Configure WSL for Research
Restating my earlier point, it’s crucial to emphasize that in WSL, you won’t have access to a full Linux experience complete with a graphical user interface (GUI). Instead, you’re limited to the command line interface, making it essential to wield it proficiently. For those new to Linux, I highly recommend diving into “The Linux Command Line” by William Shotts, available for free here. This comprehensive resource covers all the fundamentals required to navigate the Linux command-line effectively, from understanding shells to mastering terminal navigation.
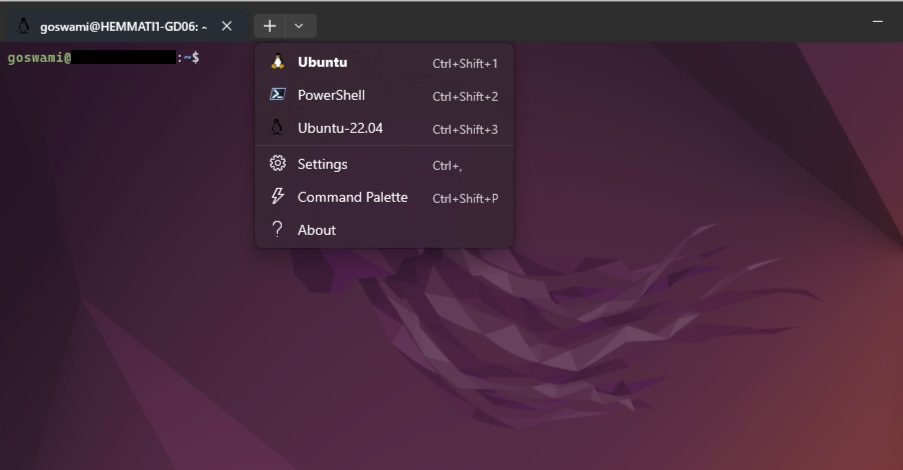
Additionally, I strongly advocate for installing the Windows Terminal Preview, a cutting-edge terminal application designed specifically for Windows users. Tailored for command-line enthusiasts utilizing tools like Command Prompt, PowerShell, and WSL, this terminal offers a modern and intuitive interface. Installing Windows Terminal Preview is a breeze – simply follow the link provided above. I recommend configuring your most frequently used Ubuntu profile as the default one, but don’t hesitate to customize it to suit your unique needs. After all, the beauty of Linux lies in the freedom to tailor your environment to perfection!
Now, let’s delve into the realm of computational fluid dynamics (CFD) and OpenFOAM. To set up OpenFOAM and foam-extend 4.1 on WSL, refer to my previous article: Installing OpenFOAM on Ubuntu and Windows WSL and Installing foam-extend on Ubuntu and Windows WSL.
The performance and usability of OpenFOAM within WSL, whether for development or running simulations, closely mirror that of native Linux environments. However, there’s a minor caveat to consider. By default, WSL only utilizes half of the available system memory. For instance, if your PC boasts 64GB of RAM, WSL will only tap into 32GB by default. Fortunately, there are no such restrictions on CPU/GPU cores. To check the allocated memory and swap space within your WSL distribution, use the following command:
free -h --giga
Executing this command yields the following output, with each figure denoted in gigabytes:
              total        used        free      shared  buff/cache   available
Mem:            32G        507M         31.4G        3.0M        535M         30G
Swap:           4G          0B         4G
Now, if you find yourself needing to allocate more resources to WSL, there are solutions available. By customizing WSL, you can adjust settings such as CPU core limits, memory usage, swap space, and more. This customization is achieved by creating a file named .wslconfig within your Windows user profile directory, typically located at C:\Users\YourUsername\.wslconfig. When launched, the WSL instance reads this file and configures itself accordingly.
To create the .wslconfig file, you can utilize WSL itself. Open a WSL instance and navigate to your Windows user profile directory, then create the file using the following commands:
cd /mnt/c/Users/<UserName>/
touch .wslconfig
Replace <UserName> with your actual Windows username. Next, open and edit this file using your preferred text editor within WSL. For example, I prefer to use the venerable Vim. In my case, to allocate all available system memory (63GB), I would add the following lines to .wslconfig:
[wsl2]
memory=63GB

Save and exit the editor, then manually exit WSL. Open PowerShell and execute the following commands to fully shut down WSL:
wsl --shutdown
Wait until the subsystem running your Linux distribution completely stops and restarts for the configuration updates to take effect. This typically takes around 8 seconds after closing all instances of the distribution shell.
Once this process is complete, relaunch the WSL instance and check the memory allocation using free -h --giga. In my case, the result would resemble the following:
              total        used        free      shared  buff/cache   available
Mem:            63G        547M         62G        3.0M        518M         62G
Swap:           16G          0B         16G
Now, why would one need to allocate such a substantial amount of memory to WSL? For me, as a CFD researcher, it’s all about the plethora of tools I use. Alongside OpenFOAM, I’ve configured Python and LaTeX on WSL. Given my heavy reliance on VS Code for post-processing and manuscript writing using LaTeX, WSL becomes indispensable. In terms of CFD, I prefer setting up and running test simulations locally before transitioning cases to a computing cluster. Allocating more resources to WSL ensures smooth operation when conducting these test cases. After completing simulations on the computing cluster, transferring them back to my local machine for reconstruction is a seamless process. However, this reconstruction of parallel run cases in OpenFOAM can be quite memory-intensive. This is where the allocation of memory to WSL proves to be invaluable. With ample memory resources allocated, I can efficiently execute the reconstruction process without worrying about memory constraints hindering the workflow.
VS Code, WSL and OpenFOAM
Let’s refocus our attention on OpenFOAM and my CFD workflow. By now, it’s evident that setting up OpenFOAM cases involves working extensively with scripts and files. OpenFOAM’s configuration relies heavily on numerous plain text input files spread across directories such as 0, constant, and system. In essence, OpenFOAM revolves around editing text files and occasionally scouring the web for error messages. For the former, if you’re still relying on the default editor shipped with your operating system, it’s high time for an upgrade – Windows Notepad simply won’t cut it. My top recommendation? Visual Studio Code (VS Code).
VS Code needs no introduction; it’s a powerhouse of an editor. While I typically assume most individuals are already using it, if you’re not, I wholeheartedly endorse making the switch. VS Code is open-source, compatible across all major operating systems, boasts a plethora of extensions, offers high customizability, and best of all, it’s free. For OpenFOAM case setups and testing alike, I rely on the seamless integration of VS Code and WSL.
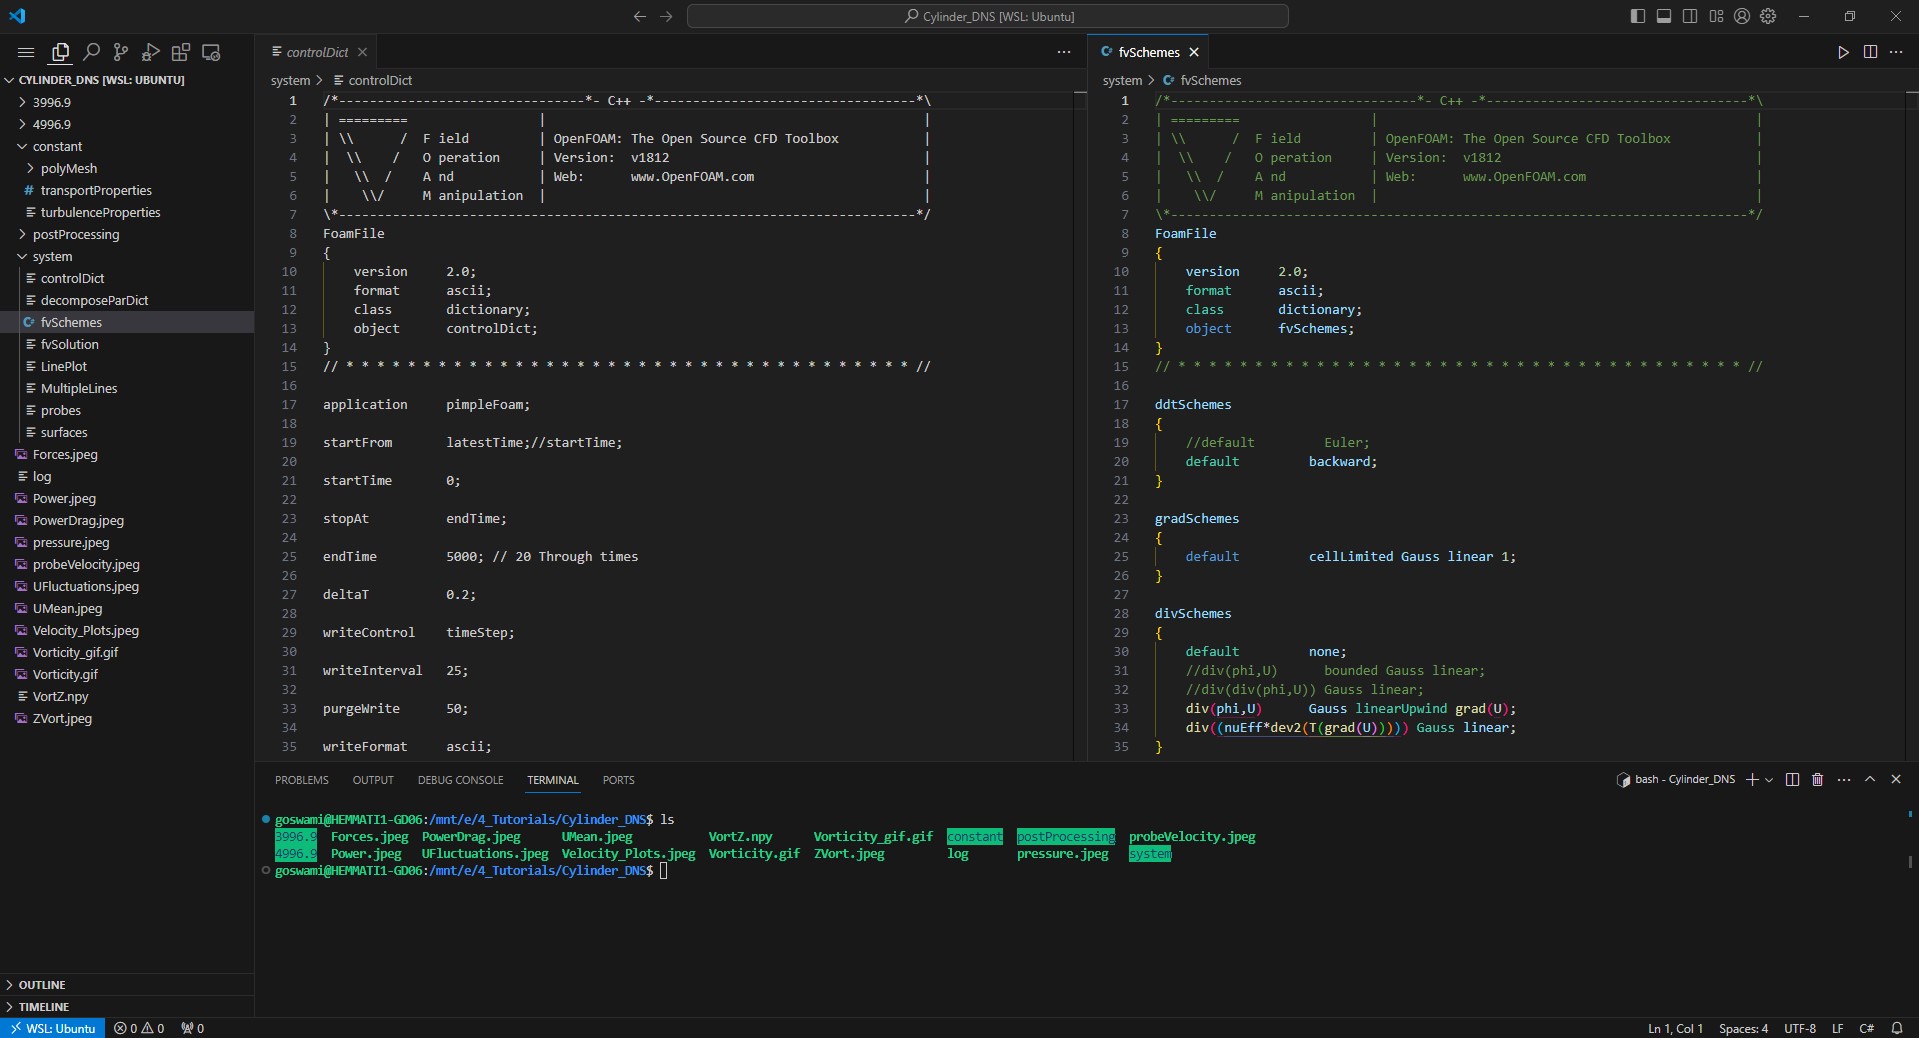
Once you’ve installed VS Code, ensure it’s added to the PATH environment variable in Windows. You can achieve this by following the instructions provided here. With that done, open a WSL instance and navigate to the directory containing your files. To launch VS Code at this specific location, simply type code .. Don’t forget the period there. Let’s say I want to access the Cylinder_DNS case located at E:\4_Tutorials\Cylinder_DNS and open it up in VS Code. Here’s how I’d do it:
cd /mnt/e/4_Tutorials/Cylinder_DNS/
code .
This command will fire up VS Code with the selected case ready for editing. From here, I can make adjustments to the case and execute commands using the integrated terminal within VS Code.
In conclusion, embracing Windows Subsystem for Linux (WSL) has revolutionized my computational fluid dynamics (CFD) workflow. WSL seamlessly bridges the gap between Windows and Linux environments, offering the best of both worlds. By leveraging the power of WSL alongside essential tools like Visual Studio Code (VS Code), I’ve streamlined case setups, simulations, and post-processing tasks. With WSL, installing and managing multiple Linux distributions becomes effortless, providing the flexibility to utilize different versions tailored to specific software requirements. Meanwhile, VS Code emerges as the ultimate companion, offering a feature-rich environment for editing OpenFOAM case files, running simulations, and debugging with ease. So, if you’re a CFD enthusiast navigating the Windows landscape, don’t hesitate to dive into the world of WSL and unleash the full potential of your computational endeavors.
Happy Computing!!!
Enjoy Reading This Article?
Here are some more articles you might like to read next: