Building Your Python Toolbox for CFD
Python has emerged as a powerful tool for Computational Fluid Dynamics (CFD) simulations due to its open-source nature, extensive libraries, and ease of use. This blog post will guide you through the essential steps to set up your Python environment for CFD, including the installation of key libraries and the configuration of necessary tools.
Python has rapidly gained traction as a preferred language for Computational Fluid Dynamists. Its versatility, coupled with a rich ecosystem of open-source libraries, makes it an ideal choice for researchers and engineers alike. This guide will walk you through the essential steps to establish a robust Python environment tailored for CFD. Specifically, I will list out the various python modules and libraries essential for CFD data analysis and post-processing.
Let’s begin!!
Choosing the Right Python Distribution

Python distribution is a bundle that includes the Python interpreter and a collection of pre-installed libraries and tools. Choosing the right Python distribution is essential for efficiently setting up a Python environment, particularly in specialized fields like Computational Fluid Dynamics (CFD), due to its ability to ensure compatibility with essential libraries, avoid dependency conflicts, and offer pre-built, optimized packages that save time and enhance performance. Distributions like Anaconda provide robust environment management tools, allowing for isolated, reproducible environments tailored to specific projects. Additionally, they facilitate cross-platform compatibility, simplify installation and maintenance, and integrate smoothly with other tools in the CFD workflow, all while benefiting from strong community support and extensive documentation.
Here are the Recommended Distributions for python:
- Anaconda : One of the most popular Python distributions for data science, machine learning, and scientific computing. It comes with over 1,500 packages pre-installed, including essential ones for CFD like NumPy, SciPy, Matplotlib, and pandas. It is easy to install, has extensive package support, includes Conda for environment management, and has built-in tools like Jupyter Notebook. The only downside is that it has a large download size (~0.5GB) and can be extremly resource-intensive.
- Miniconda : A lightweight alternative to Anaconda. It only includes Conda and a few essential packages, allowing users to install only what they need. It offers minimal installation size, complete control over packages, and the flexibility to create lean environments. On the downside, it requires manual installation of additional packages, which might be a bit more work for beginners.
- CPython (Official Python) : CPython is the standard distribution from python.org. It provides the latest Python version without any additional packages. It is lightweight and gives the user complete control over which packages to install. However, since it is lightweight, it requires manual installation of all necessary libraries.
Recommendations:
- Beginners: Anaconda is the best choice for ease of setup and immediate access to a wide range of packages.
- Experienced Users or Minimalists: Miniconda is ideal for those who want a lightweight, customizable environment.
- Advanced Users or Developers: CPython is suitable for those who prefer to manually curate their environment, especially if they have specific version requirements or wish to optimize performance.
In short, Anaconda and Miniconda are preferred choices for most users due to their ease of use and pre-installed packages, while CPython is suitable for those who want a minimalistic setup or prefer to have full control over their environment. As a researcher, I usually work with CPython mainly due to the benifits of manual installation of all necessary libraries. This way, one can ensure total control over the python environment.
PS: Any of these python distributions should work on Windows or Mac!!
Installing Python
Step 1
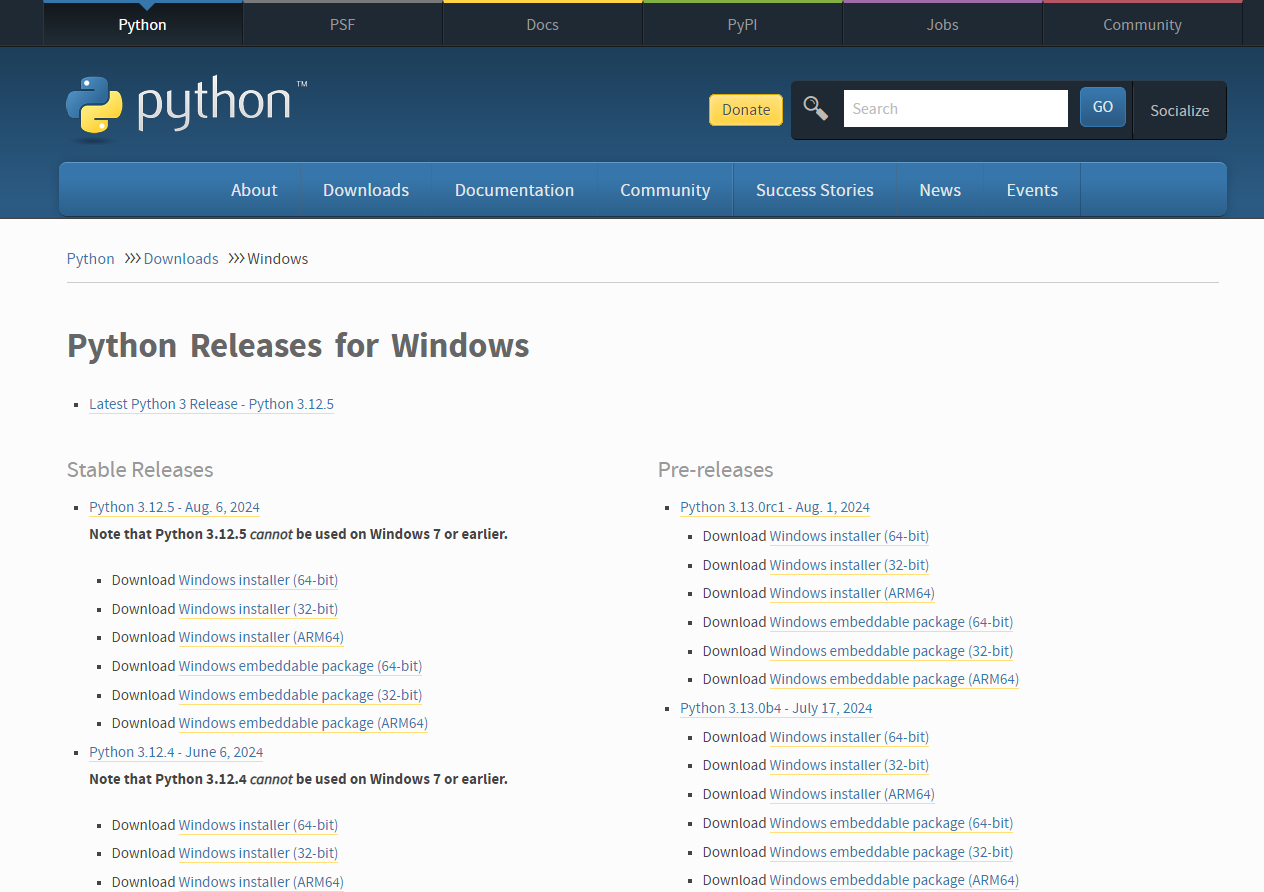
Go to python.org. On the homepage, you’ll see a download button that automatically selects the latest version of Python for your operating system (Windows, macOS, or Linux). While the latest version is recommended, you can also select older versions if needed by clicking on “View the full list of downloads.” Once you have selected a specific version of python, click the download button to start downloading the installer file.
Step 2
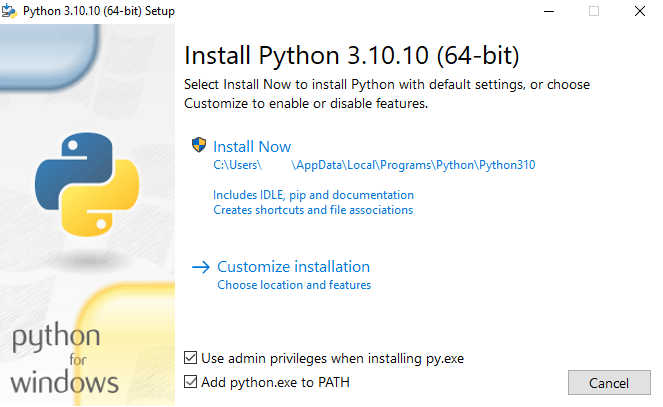
Once the download is complete, find the installer file in your Downloads folder and simply run it!!! Don’t forget to select the Install launcher for all users checkbox, which enables all users of the computer to access the Python launcher application, and Select the Add python.exe to PATH checkbox, which enables users to launch Python from the command line.
Step 3
If you’re just getting started with Python and you want to install it with default features as described in the dialog, then simply click Install Now.
Step 4
After the installation is complete, a Setup was successful message displays. I recommend selecting the Disable path length limit option and thereby removing the path length limit. It will potentially save you time in future on debugging an avoidable issue.
Step 5
Reboot your system. This ensures that the Path environments are set for your system.
(Optional, ONLY FOR WINDOWS) Adding Python to Environment Variables If you want to access Python through the command line but you didn’t add Python to your environment variables during installation, then you can still do it manually. Skip this step if you selected Add Python to environment variables during installation.
First, locate the Python installation directory on your system. Most often, python is installed in C:\Program Files\Python310 for example. Note that the folder name will be different if you installed a different version, but will still start with Python.
Go to Start menu and enter advanced system settings in the search bar. Click View advanced system settings. In the System Properties dialog, click the Advanced tab and then click Environment Variables. Select Path from the list of System Variables and click Edit. Click New and enter the Python directory path, then click OK until all the dialogs are closed.
Verify the python installation
To verigy the python installation, simply open the PowerShell in windows or your terminal on a mac and type in python -V. As an example, the output should be Python 3.11.6
First Steps
First of all, upgrade the pip. Pip is the python package manager, mainly used to install packages from the Python Package Index (PyPI). To upgrade pip, simply type in python -m pip install --upgrade pip.

Next, lets install some some essential packages like NumPy, SciPy, Matplotlib, pandas, and Jupyter. For this, I utilize a file named requirements.txt. This is a file that contains a list of packages or libraries needed to work on a project (if you are working with multiple python enviroments) that can all be installed with the file. It provides a consistent environment and makes collaboration easier.
You can use your terminal or command prompt to create your requirements file. Simply generate an empty text file named requirements.txt. Then open it up and type in the names of the necessary packages as such:
matplotlib
numpy
pandas
scipy
jupyter
fluidfoam
imageio
pyvista
Save this file on your working directory and simply Install the dependencies noted in this file using pip install -r requirements.txt or python -m pip install -r requirements.txt. Since these are lare packages, wait for the installation to finish!!
Your Python environment is set!!!
Essential Python Packages for a CFD Researcher
- NumPy : NumPy (Numerical Python) is the fundamental package for scientific computing with Python, adding support for large, multidimensional arrays and matrices, along with a large library of high-level mathematical functions to operate on these arrays. You will need this for data manipulation and data analysis.
- SciPy : SciPy (Scientific Python) is another free and open-source Python library for data science that is extensively used for high-level computations. It’s extensively used for scientific and technical computations, because it extends NumPy and provides many user-friendly and efficient routines for scientific calculations. It contains modules for optimization, linear algebra, integration, interpolation, special functions, FFT, signal and image processing, ODE solvers, and other tasks common in science and engineering. For example, you can perform Fast Fourier Transfort (FFT) using the scipy modules like
fftandwelch. - Pandas : Pandas is a library for data manipulation and analysis, providing data structures and operations for manipulating numerical tables and time series.
- Matplotlib : Matplotlib is a comprehensive library for creating static, animated, and interactive visualizations in Python. As its website suggests, Matplotlib makes easy things easy and hard things possible. This package will be the most handy one since CFD involves a lot of qualitative plotting, where matplotlib shines!!
- jupyter : Jupyter is a tool in Python that allows you to write and run code in a very interactive way. Imagine it as a digital notebook where you can write code, run it, and immediately see the results, all in the same place.
- Fluidfoam : A specialized Python package tailored for OpenFOAM post-processing. Fluidfoam simplifies complex tasks like plotting velocity and pressure distributions, handling OpenFOAM-specific data structures seamlessly, and enabling insightful visualizations with minimal effort. It represents a significant advancement in post-processing workflows, empowering users to extract deeper insights from their simulation data.
- PyVista : PyVista is a powerful tool for 3D data visualization, serving as an interface for the Visualization Toolkit (VTK). With PyVista, one can easily read and extract data from a vtk file.
Enjoy Reading This Article?
Here are some more articles you might like to read next: